2024-10-02

Estimated reading time: 5 minutes
This guide will show you how to easily set up and run large language models (LLMs) locally using Ollama and Open WebUI on Windows, Linux, or macOS - without the need for Docker. Ollama provides local model inference, and Open WebUI is a user interface that simplifies interacting with these models. The experience is similar to using interfaces like ChatGPT, Google Gemini, or Claude AI.

Running Open WebUI without Docker allows you to utilize your computer’s resources more efficiently. Without the limitations of containerized environments, all available system memory, CPU power, and storage can be fully dedicated to running the application. This is particularly important when working with resource-heavy models, where every bit of performance matters.
For example, suppose you're using Open WebUI to interact with large language models. In that case, native execution can result in faster processing times and smoother performance, as there’s no overhead from Docker managing the container. By running natively, you also gain:
Before you begin, ensure you have the following installed on your system:
Make sure you are using Python 3.11.X. Version 3.11.6 works well, for example. The latest version of Python, 3.12.7, is not compatible with the current version of Open WebUI.
You can download Python here. Make sure to select the appropriate version for your operating system. Python is a versatile programming language widely used in AI and machine learning, including the development and operation of Large Language Models (LLMs). If you're looking to grow your skills in this area, be sure to check out our python flashcards for a quick and efficient way to learn.
To install Open WebUI, you can use Python's package manager pip. Follow these steps:
Open your terminal and run the following command to install Open WebUI:
pip install open-webuiAfter installation, update pip to the latest version by running:
python.exe -m pip install --upgrade pipOnce Open WebUI is installed, start the server using the following command:
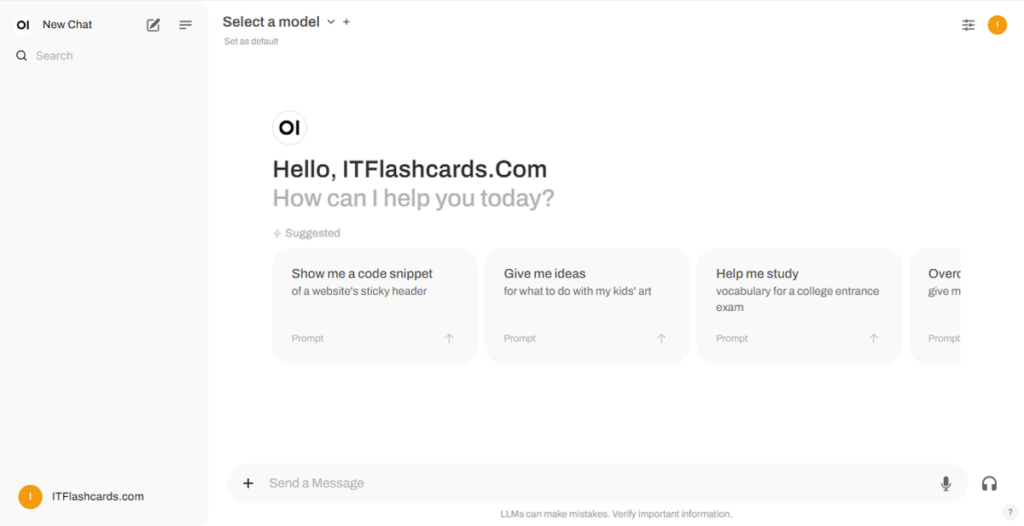
open-webui serveAfter successfully starting Open WebUI, you can access it in your browser at: http://localhost:8080.
Additionally, if you prefer, you can install Open WebUI by cloning the project directly from GitHub. For more details, see the section at the end of this guide.
By default, Ollama sets the following paths for storing language models (LLMs) on your system:
~/.ollama/models/usr/share/ollama/.ollama/modelsC:\Users\%username%\.ollama\modelsYou can change this path if needed. For example, on Windows, use the following command:
setx OLLAMA_MODELS "D:\ollama_models"If you're running Ollama as a macOS application, environment variables should be set using launchctl. To set a variable, use the following command:
launchctl setenv OLLAMA_MODELS "/new/path/to/models"After setting the variable, restart the Ollama application for the changes to take effect.
For Linux users running Ollama as a systemd service, you can set environment variables using systemctl. Here's how to do it:
Open the service configuration by running:
sudo systemctl edit ollama.serviceUnder the [Service] section, add the following line:
Environment="OLLAMA_MODELS=/new/path/to/models"Save the file, then reload systemd and restart the service:
sudo systemctl daemon-reload
sudo systemctl restart ollamaTo download and run language models in Ollama, use the following commands in the terminal. These commands will automatically download the model if it's not already installed:
To download and run the LLaMA 3.1 model from Meta (Facebook):
ollama run llama3.1To download and run the Gemma 2 model from Google:
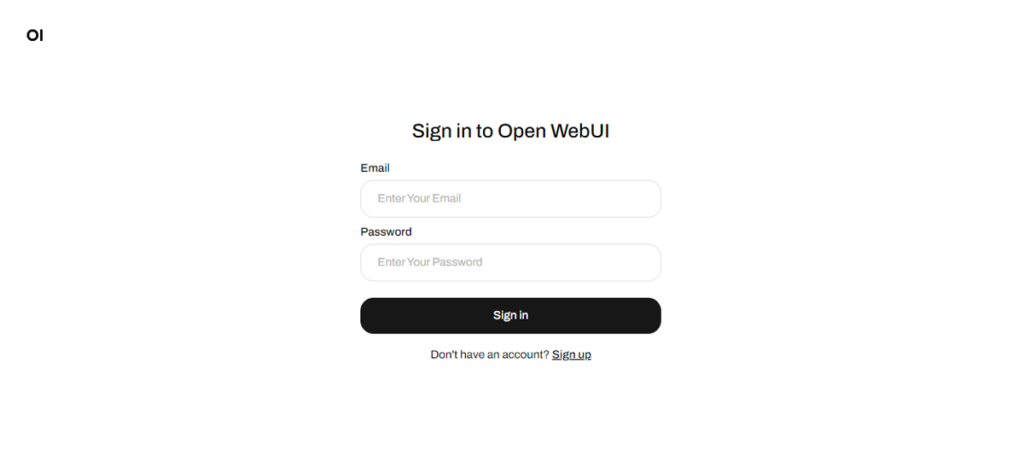
ollama run gemma2Once Open WebUI is running, you can access it via http://localhost:8080. After navigating to this address, you will be prompted to log in or register. To create a new account, select the Sign Up option. This account is created locally, meaning it is only available on this machine, and no other user on your system will have access to your data.

If you previously started Open WebUI and the models downloaded via Ollama do not appear on the list, refresh the page to update the available models. All data managed within Open WebUI is stored locally on your device, ensuring privacy and control over your models and interactions.
If you'd like to install Open WebUI by cloning the project from GitHub and managing it manually, follow these steps:
Open a terminal and navigate to the directory where you want to clone the repository.
Clone the Open WebUI repository using Git:
git clone https://github.com/open-webui/open-webui.gitChange to the project directory:
cd open-webui/Copy the .env file:
cp -RPp .env.example .envBuild the frontend using Node.js:
npm install
npm run build
Move into the backend directory:
cd ./backend(Optional) Create and activate a Conda environment:
conda create --name open-webui-env python=3.11
conda activate open-webui-env
Install Python dependencies:
pip install -r requirements.txt -UStart the application:
bash start.shOpen a terminal and navigate to the directory where you want to clone the repository.
Clone the Open WebUI repository using Git:
git clone https://github.com/open-webui/open-webui.gitChange to the project directory:
cd open-webuiCopy the .env file:
copy .env.example .envBuild the frontend using Node.js:
npm install
npm run build
Move into the backend directory:
cd .\backend(Optional) Create and activate a Conda environment:
conda create --name open-webui-env python=3.11
conda activate open-webui-env
Install Python dependencies:
pip install -r requirements.txt -UStart the application:
start_windows.batBy following this guide, you should be able to run Ollama and Open WebUI (without Docker) successfully locally without any issues. However, if you encounter any errors or difficulties along the way, feel free to leave a comment, and I'll do my best to assist you.
noaa
11/26/2024 at 04:26
me
02/01/2025 at 17:02

Ollama + Open WebUI: A Way to Run LLMs Locally on Windows, Linux, or macOS (without Docker)


